How to Fly Steep Turns
How to Fly Steep Turns
This simple maneuver is a great way to evaluate whether or not you think like a pilot.
What is a Steep Turn?
The name is self-explanatory. A steep turn is a maneuver that consists of a 180º or 360º turn in one direction, followed by a repeat in the opposite direction. The turn is made at a larger-than-normal bank angle: 45º for pilots on a Private Pilot checkride, and 50º for pilots on a Commercial checkride.
Why Do We Fly Steep Turns?
Steep turns evaluate whether a pilot is thinking aerodynamically. Yes, there may be practical reasons to need to turn steeply in daily flying, but it’s not why we learn the maneuver. Steep turns require a pilot to use sight-picture while changing aileron, rudder, and elevator pressure to fly a level series of coordinated turns. Pilots with poor understanding of the aerodynamic and procedural factors will often struggle through it. But, we’ll let you in on a little secret: steep turns are super fun, and not that difficult—if you learn them properly.
Flying a Steep Turn: Step by Step
Let’s break down a steep turn into a few main steps:
- The set-up
- The roll-in
- The turn
- The roll-out
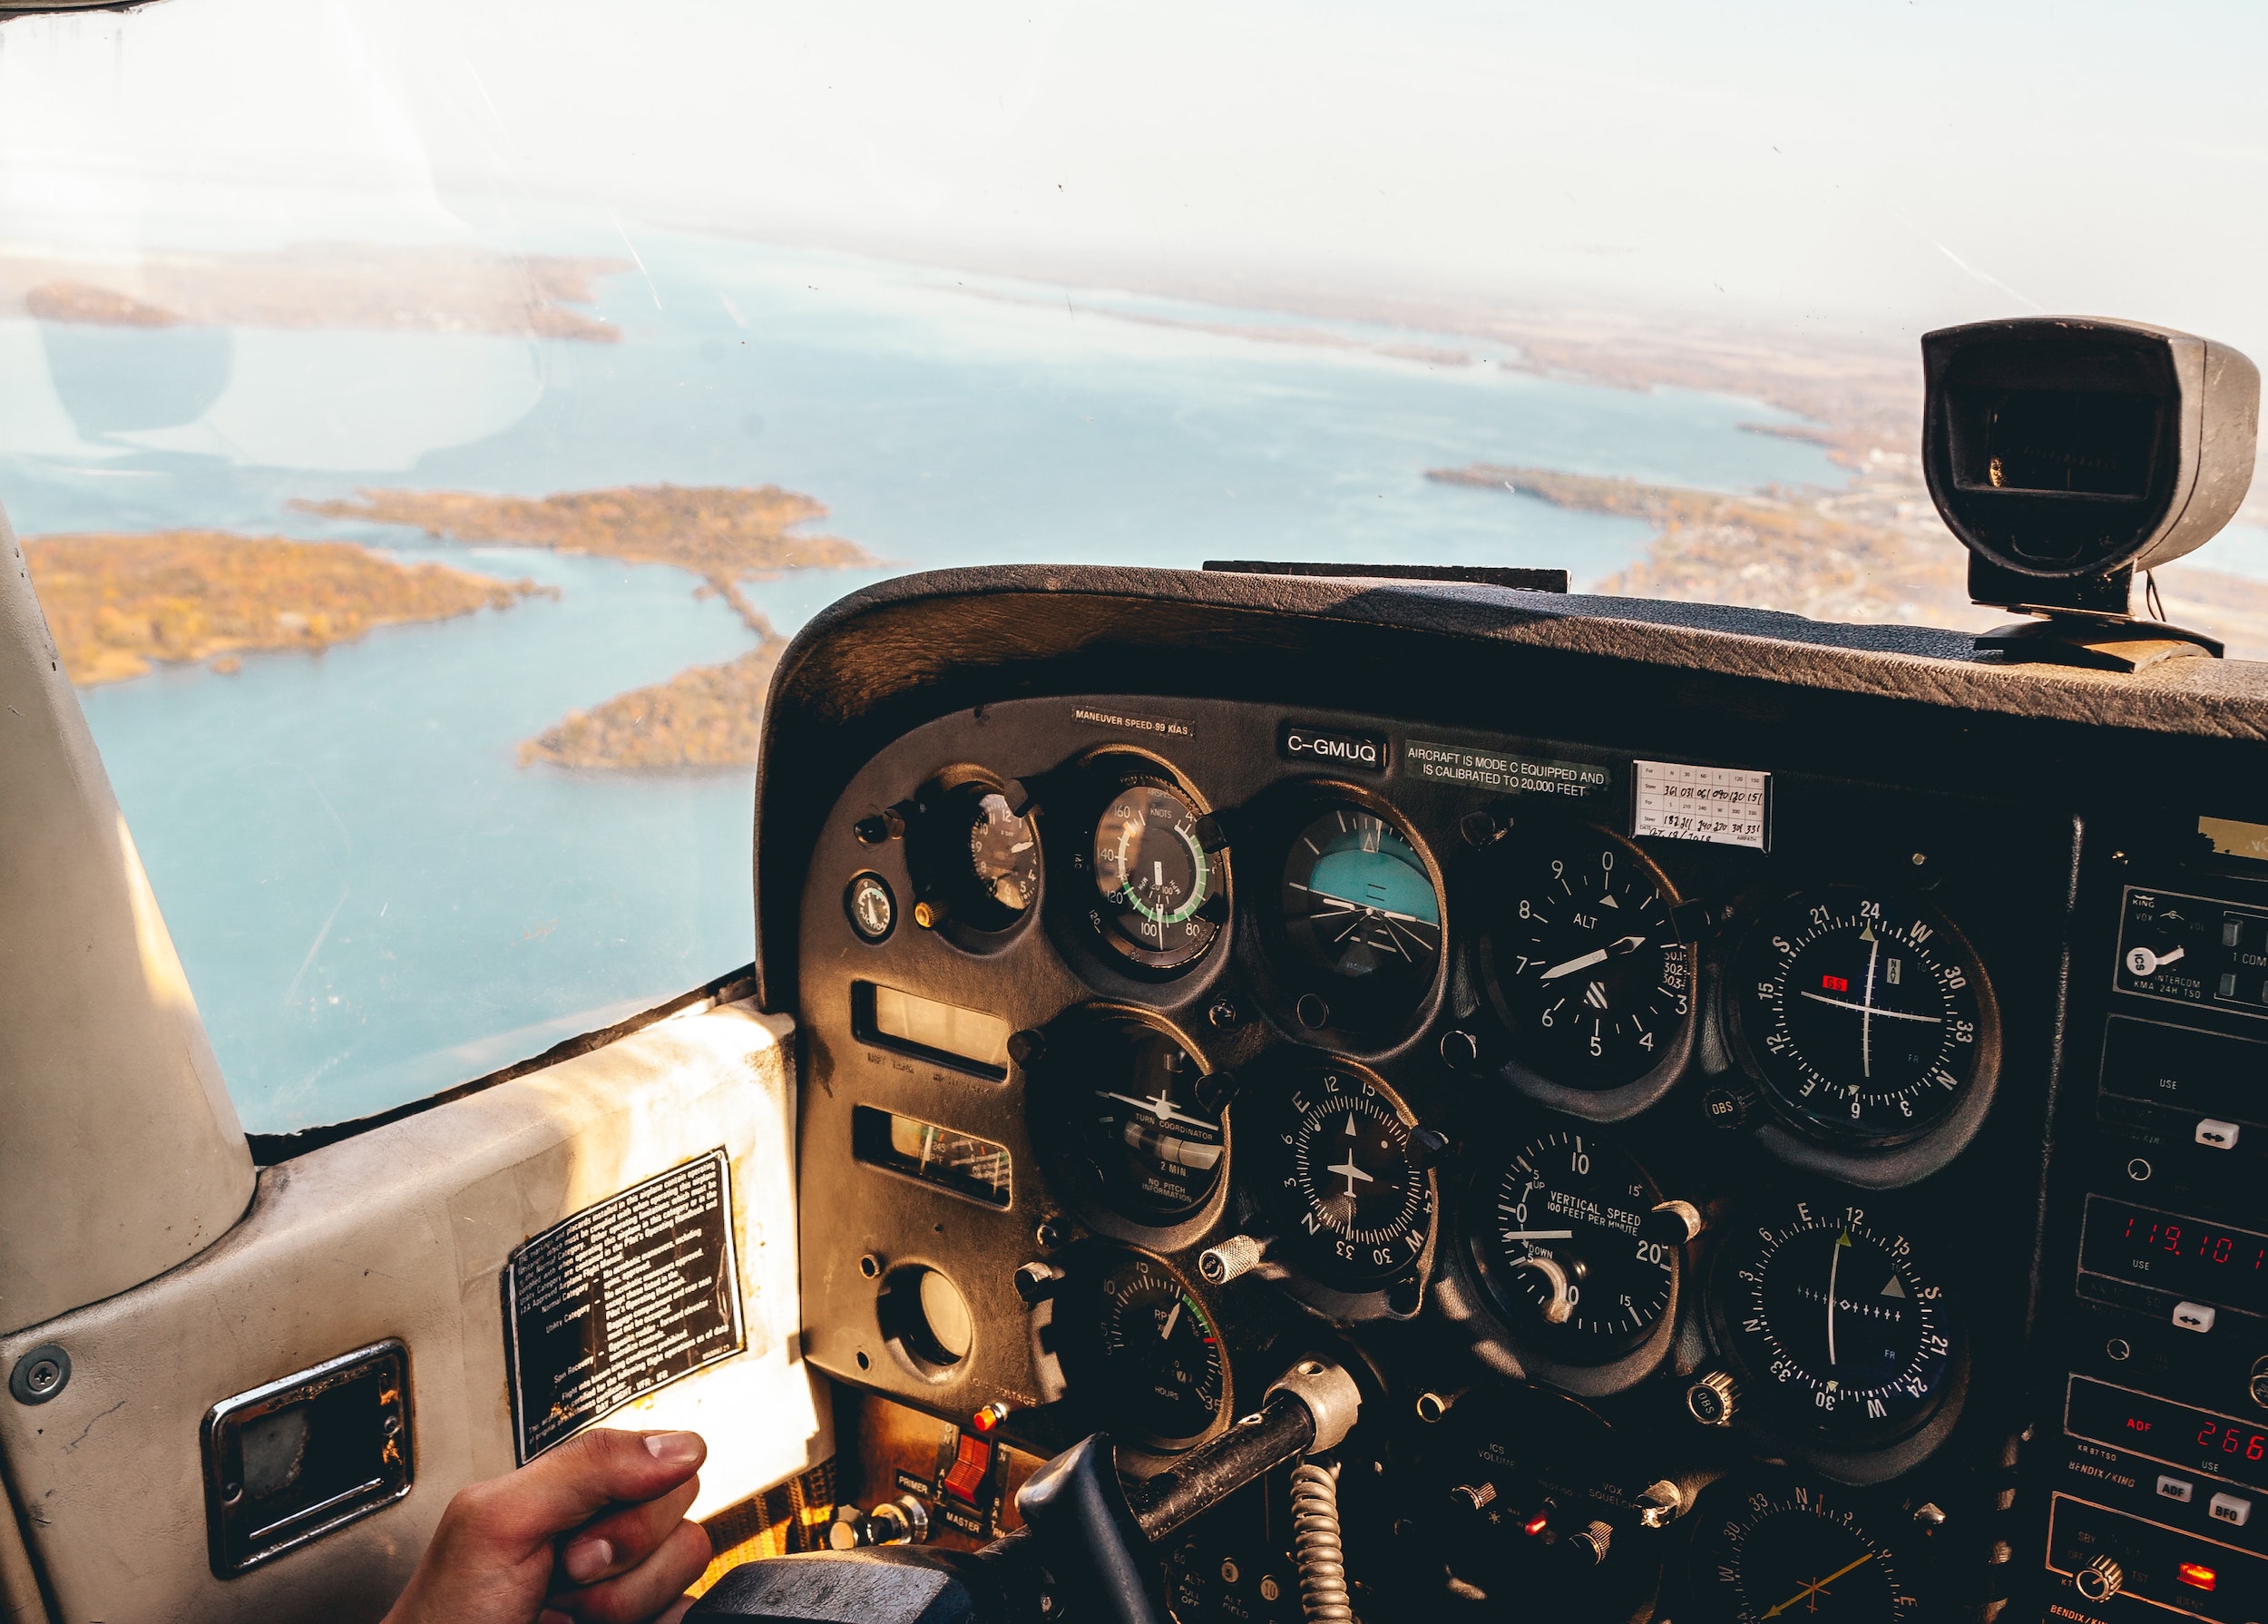
In the set-up a pilot performs clearing turns to check for traffic in the maneuvering area, establishes level flight at a desired altitude, establishes a desired heading, and sets power as desired for the maneuver. Basically, look for traffic, get stable and level, and pick a heading. By the way, picking a heading due exactly north, south, east or west can make it a little easier to track your turn. We also recommend choosing a reference point on the the engine cowl that aligns with the horizon mid-turn. It can be an oil smear, a nut, or the edge of a panel—really anything that can provide a reference. Ideally a pilot will have this pre-selected from past experience in the make and model.
The maneuver starts at roll-in to the first turn. A proper roll-in requires simultaneous coordinated use of aileron, rudder, power, and elevator back pressure.
Why?
To bank, we move the up-wing aileron down. This increases the angle of attack (AOA or α) on the up wing, causing us to bank and our lift vector to point horizontally. Remember, it’s this horizontal component of lift that causes us to turn. But the higher AOA on the up-wing also results in more drag. This causes the airplane to yaw towards the outside of the turn. In the cockpit this looks like the nose swinging outside, away from the direction we are turning. As we turn, the yaw pushes the nose upwards and outside—causing a climb. To avoid this, pilots must use coordinated rudder to keep the nose on the horizon.
Because we have banked, our lift vector is now partially horizontal. The resultant loss of vertical lift means we are going to descend. To avoid that we must add elevator back pressure to increase the AOA, and therefore the lift. Doing so will add induced drag, which will slow us down. In response, we add power.
Most pilots who struggle with steep turns are botching the entry because they lack aerodynamic understanding. Fundamentally they aren’t comfortable with the physics of what’s going on. They don’t know how to turn. They may get away with it in shallow turns, climbs, and descents, but the steep turn highlights their ignorance—and that’s exactly why we learn it!
If the roll-in was accomplished correctly, the middle part of the turn is rather straight forward: keep your eyes on the horizon, glancing occasionally at your instruments to verify altitude, bank angle, and airspeed. Note the word verify: don’t stay glued to those instruments. Pilots who do tend to chase values, undulating between limits in altitude, airspeed, and bank angle. It’s a lot easier to just fly a good steep turn. The values will mostly take care of themselves.
The roll-out begins about 20º prior to the 180º or 360º target heading. And essentially all we do is undo what we did on the roll-in. We simultaneously and smoothly reduce bank with coordinated aileron and rudder, reduce power, and decrease back pressure (or increase forward pressure if we trimmed in the turn) to keep the nose on the horizon. Like on the roll-in, this sequence is required to correct various aerodynamic consequences. The aileron to bank, the rudder to prevent yaw, the elevator pressure to lower AOA now that we aren’t turning, and the decreased power to maintain cruise speed with the lower AOA.
Now we roll back in the other way! It’s the same series of steps, with one main difference: in most training airplanes pilots sit side-by-side, the student on the left and the instructor on the right. During a steep turn the longitudinal axis of the airplane—the line between the tip of the propeller spinner and the back of the tail—stays mostly aligned with the horizon. But we are sitting to the side of the longitudinal axis, and thus our sight-picture will be different in a turn to the left vs. a turn to the right. A pilot in the left seat sits lower in a turn to the left than in a turn to the right. All that means is that a pilot must pick two different reference points or get used to two different sight-pictures for a turn left and a turn right. And simple awareness of the difference in sight-picture is half the battle!
There you have it! Steep turns aren’t all that tough, if you think aerodynamically. Now remember, there is a difference between understanding something and doing it. Understanding the aerodynamics involved in a steep turn is critical, but chair-flying the movements until they feel natural is also important. Then you can hop in the plane and truly learn and master this fun maneuver.