Cross Country Planning in 2 Practical Steps
Cross Country Planning in 2 Practical Steps
When it comes to planning cross country flights, it’s important to keep your brain and your navlog organized. Having a simple holistic process makes your planning easier and your plan better.
Quality planning is essential in cross country flying. While intelligent pilots fly in conditions suitable to their skillsets, most cross-countries can legally be flown in 3-5sm visibility, and hence cross-country training for new pilots is generally conducted with that in mind. An intelligent game plan, followed by methodical yet “big-picture” execution is paramount in such situations.
The entire process starts with the flight plan. The planning process needs to be consistent enough to be reproduced with relative ease, and yet holistic enough to cover all the bases. In short, we have to use our brains. But, several consistent processes can make life a little easier.
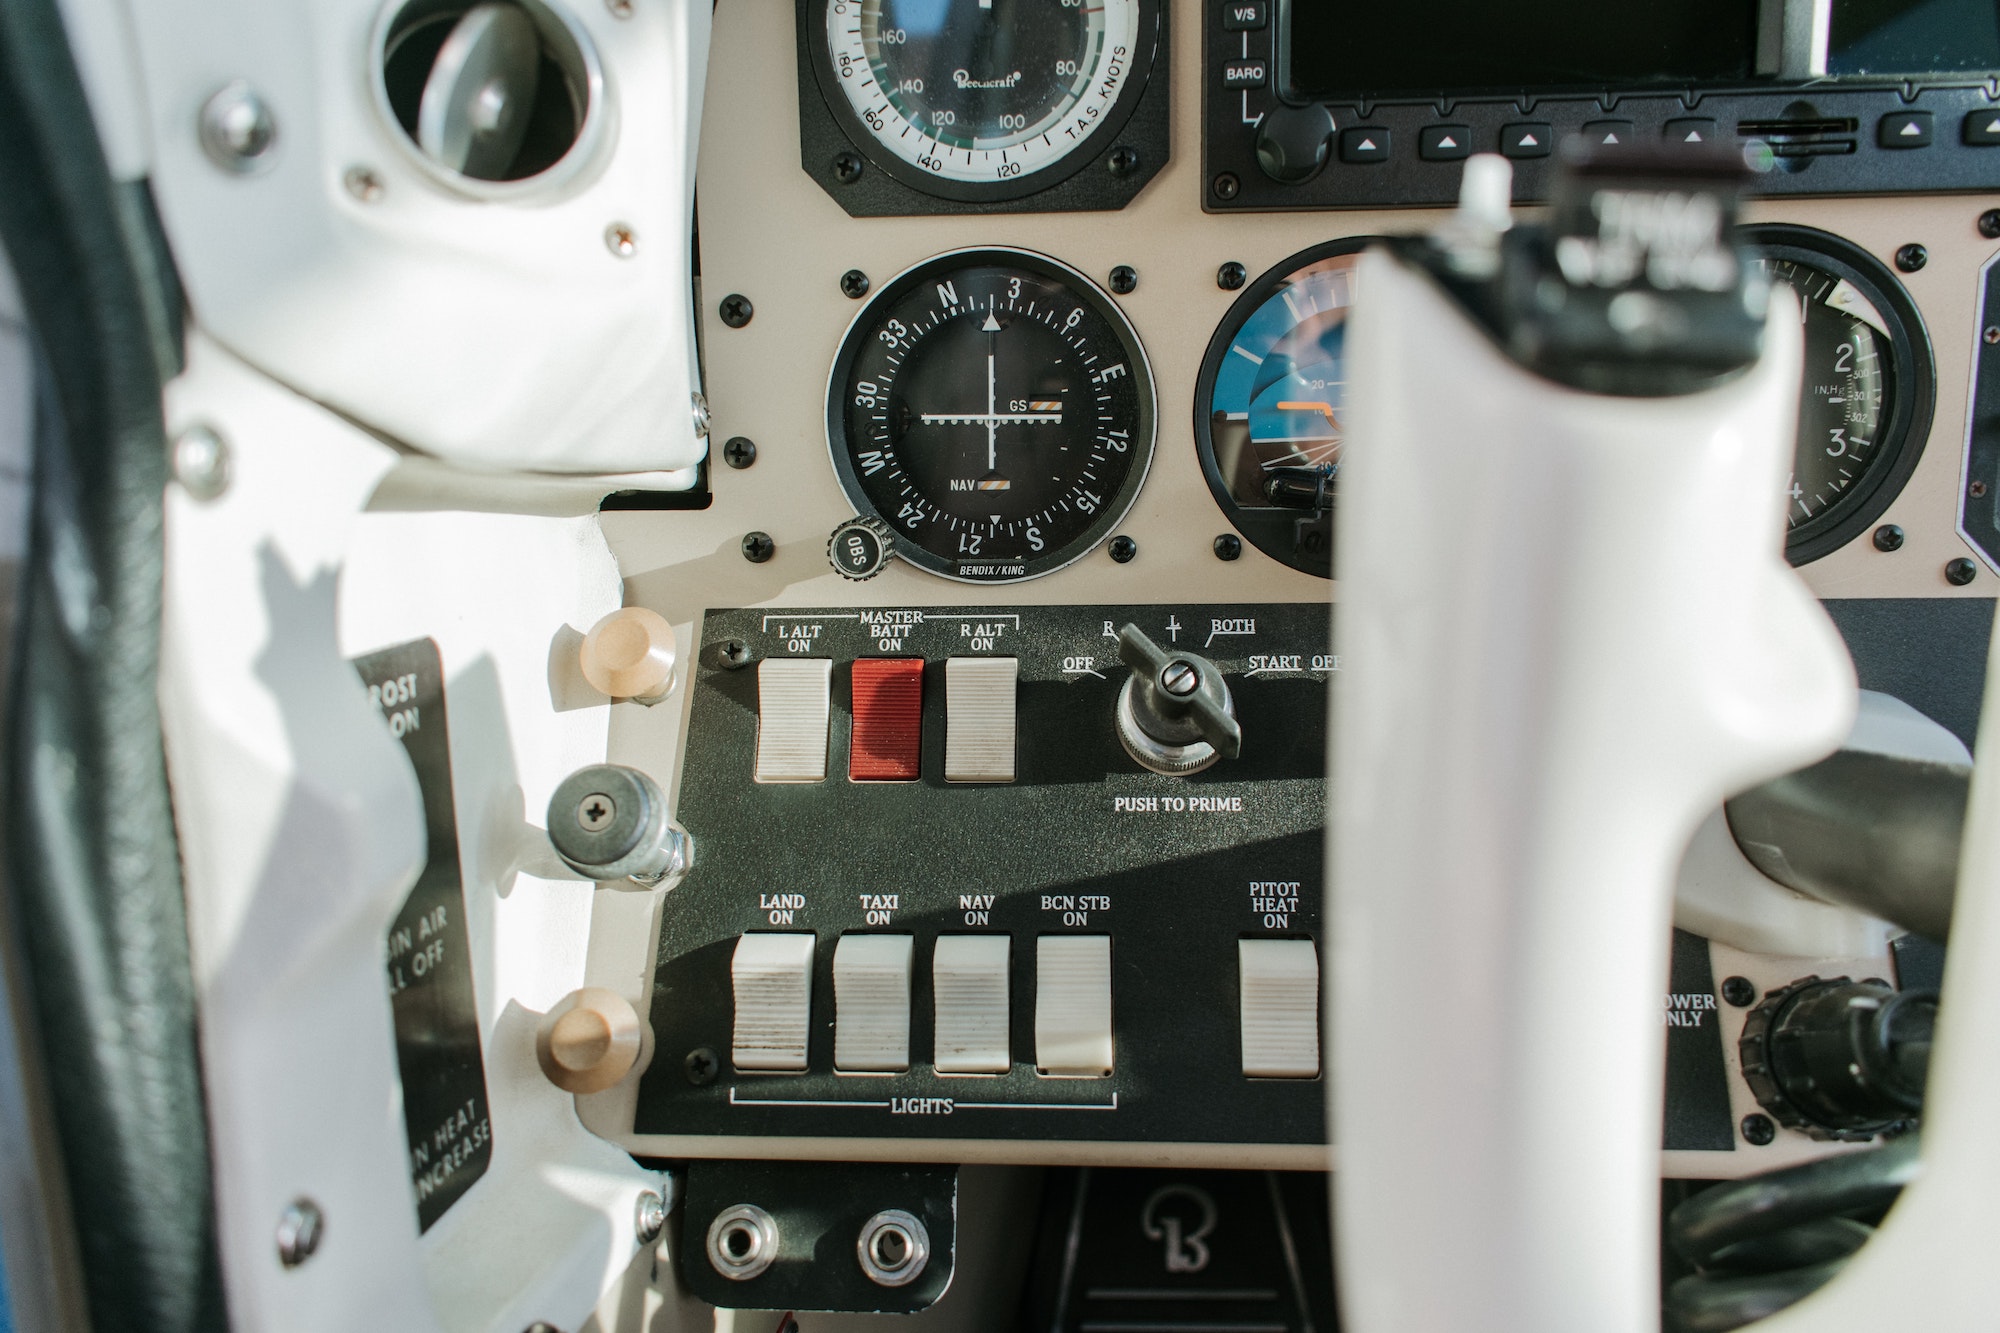
First things first: get your materials together. The chart supplement, plotter, E-6B, calculator, airplane flight manual (AFM) and pencil (to me, pens have no place in the real of flight planning). I know what you’re thinking — what kind of plotter? Compass or semicircle? Metal E-6B? Plastic? Or what about an electronic E-6B? In short, it doesn’t matter. If it does the job, it’s good enough.
You’ll also want a navigation log (navlog). At Flight Apprentice, we’ve designed our own to reduce the navlog frustration that typically plagues new pilots. Yet, even the best-designed navlog can’t produce a perfectly linear flight planning process: information can only be collected at certain points in the process, and other information must be added or referenced at different points en-route.

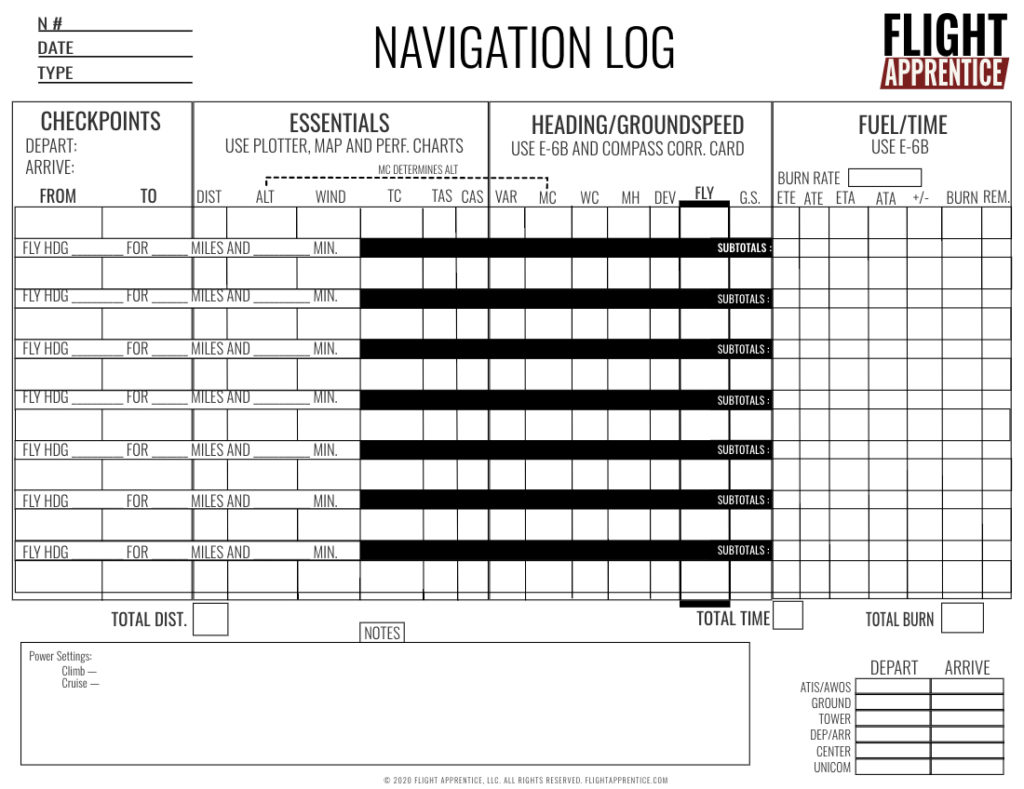
Our twist on the navlog. Click to download
Planning and flying cross-country flights require what is colloquially referred to as pilot sh*t — noticing the unexpected weather in front of you, realizing that the winds were not at all as forecast, and re-doing performance numbers because the runway you were expecting to use was shortened at the last minute.
If you are too focused on the nitty-gritty details of planning, you will miss the forest for the trees: you must maintain a somewhat detached perspective of the overall situation to successfully plan and accomplish a cross country flight.
In pursuit of keeping it simple, I recommend a 10-step process, broken into 2 major parts: plotting and course information and performance data.
- Plotting and Course Information (Pre-Weather)
- Plot distances
- Checkpoint selection
- True course
- Altitude selection
- Approximate climb performance
- Performance (Post-Weather)
- Populate wind and temperature data
- True heading
- Ground speed
- Time calculations
- Fuel calculations
The first of the two steps is accomplished without weather information. The second cannot be. To initiate the process, we put pencil to paper: draw a nice bold line on your sectional chart between takeoff and destination airports. Afterward, select checkpoints spaced roughly 10-15nm apart. The checkpoints must be discernible, and your future self will thank you for picking the intersection between two major highways abeam an airport instead of a single radio tower amongst a field of a dozen others.
Checkpoint selection must also account for the time of day or night and environmental factors. The intersection of two small rural roads may make a great checkpoint during the day in the desert. But under a thick forest canopy or at night, that rural crossing might as well not exist — you’ll pass it without ever seeing it.
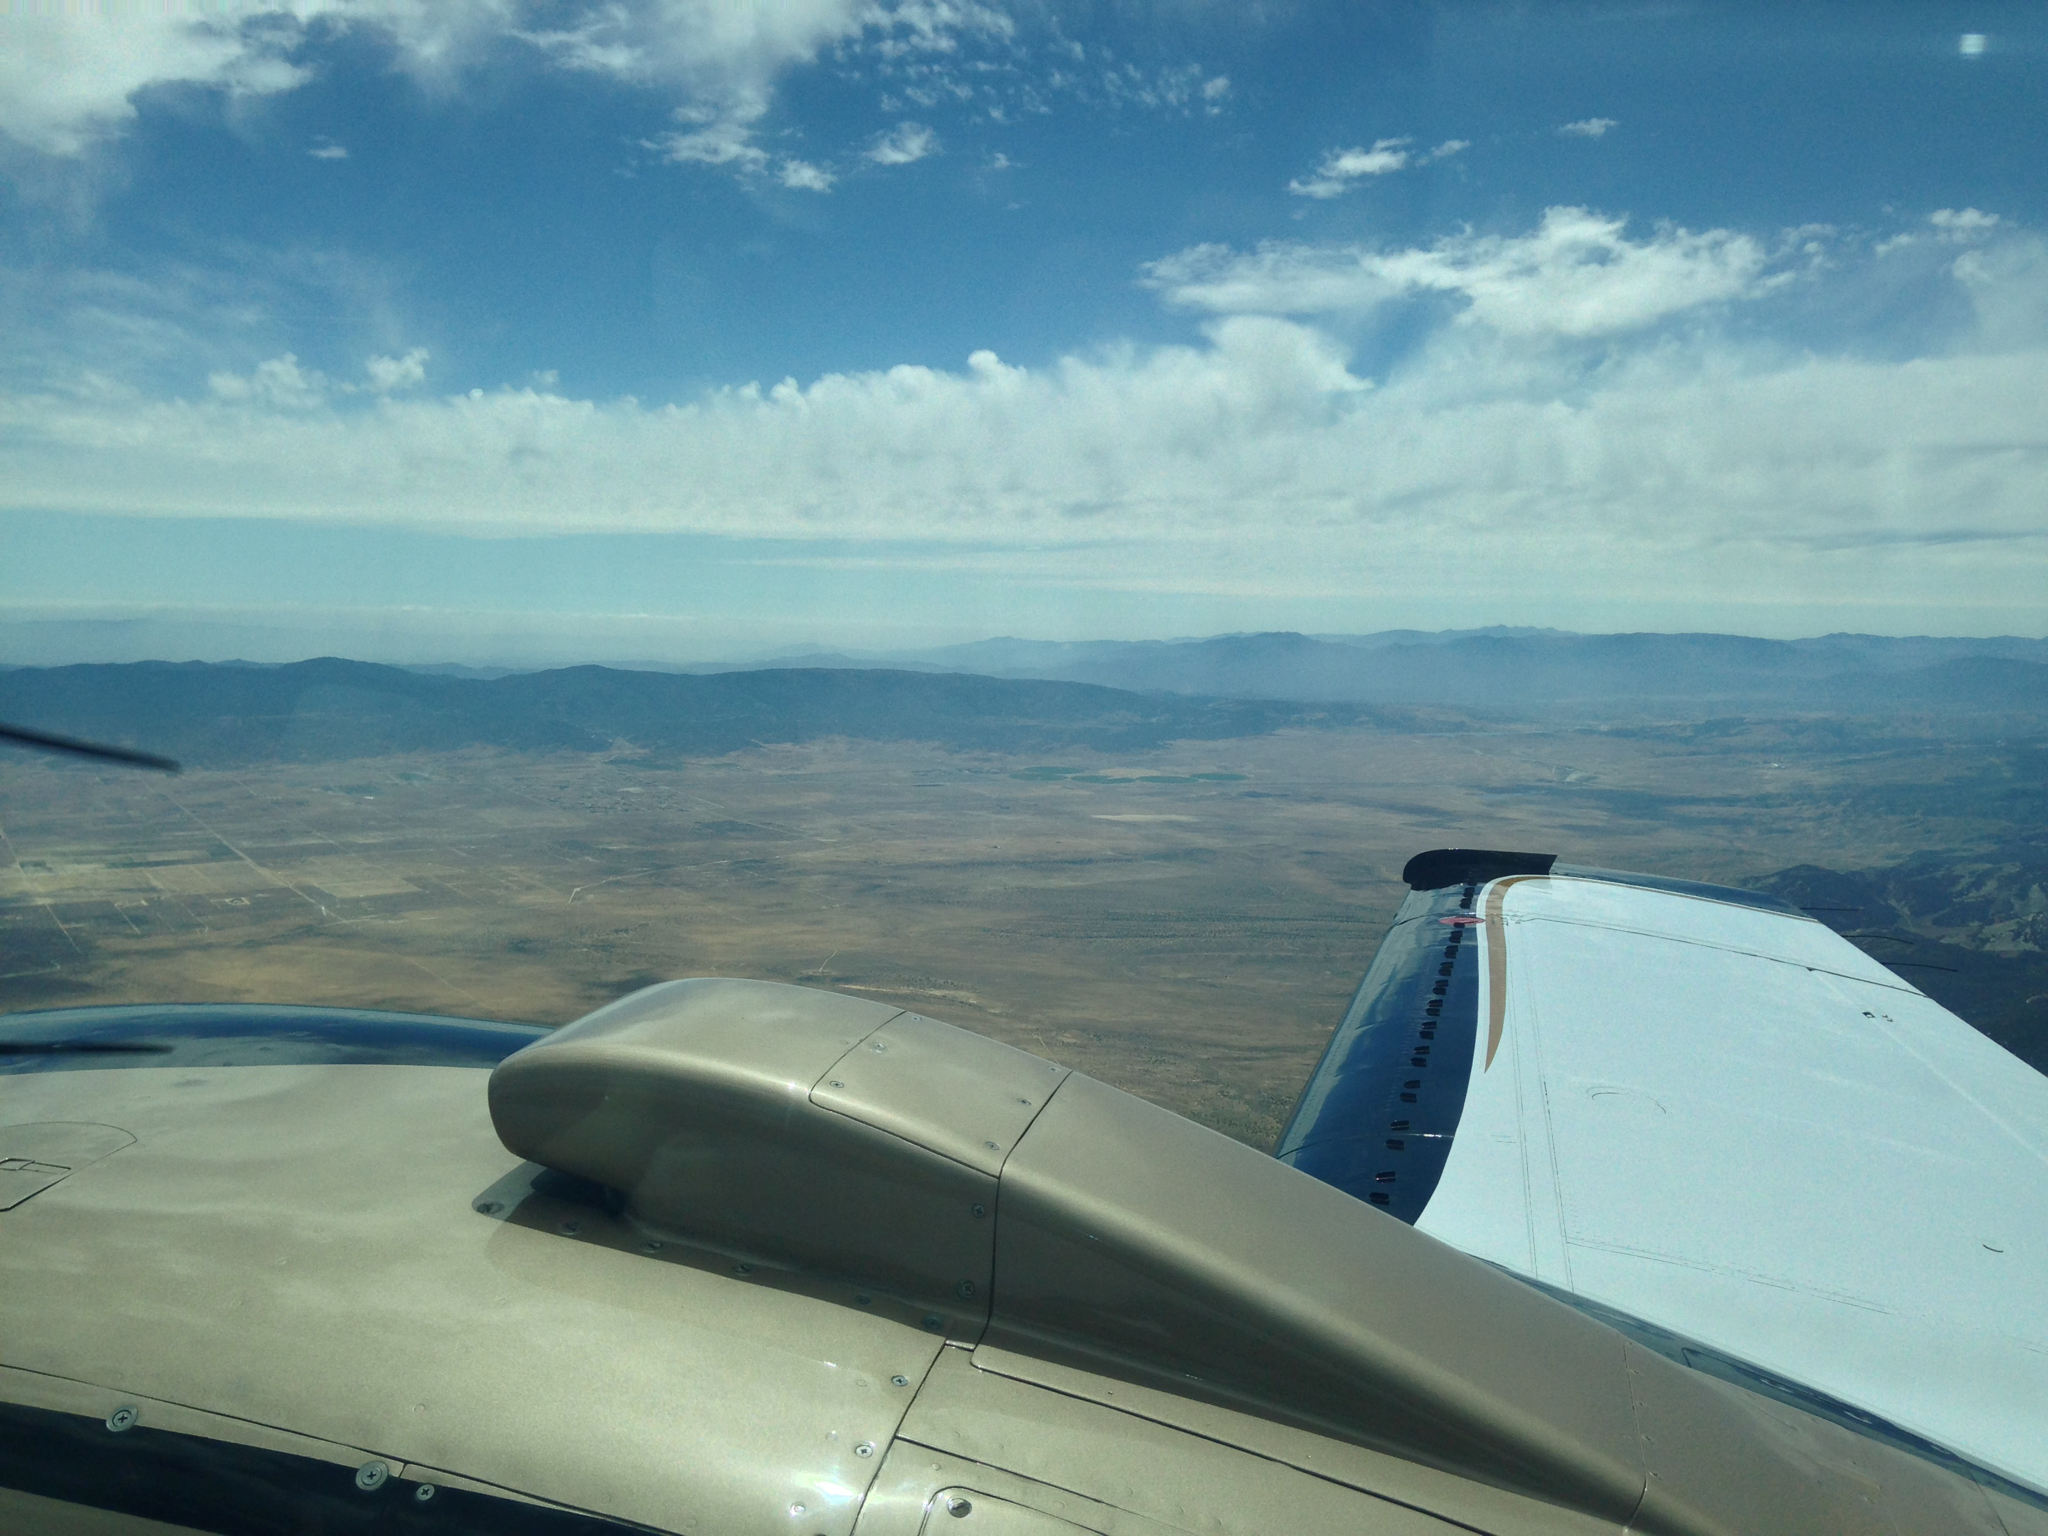
Y’all see the 300-foot tower down there? Us neither.
Next, we assess airspace and terrain limitations and choose a tentative cruise altitude according to our magnetic course. Eastbound we cruise at odd thousands plus 500 feet (e.g. 5,500, 7,500) while westbound we cruise at even thousands plus 500 feet (6,500, 8,500). Altitude selection, like most of the planning process, is not an exact science. But you should have a reason or two behind your selection.
For example, many pilots prefer to cruise higher at night as a poor-mans insurance policy against untimely engine failure. But there is a practical upper limit to such a choice because at night supplemental O2 becomes more important at lower altitudes than it is during the day. Once again, we have to do some pilot stuff — cruise high enough to not hit anything and have options if your engine fails. But stay out of airspace you can’t enter, and don’t cruise so high that you go blue (or plan accordingly and bring O2).
We can also glance at the AFM and approximate our fuel burn — what’s the total mileage, and roughly how much fuel do we need to complete it? We’re still talking big picture here: but if you planned a flight outside your aircraft max range, it might be good to know now, instead of in the post-weather phase of planning much closer to your departure time.
Take another peek at the AFM and approximate the time, fuel, and distance to cruise. We don’t take off and immediately achieve cruise: our fuel burn is substantially higher during the climb, and speed is usually lower. This is a key concept in all airplanes — in larger transport category jets, a single go-around can burn through what would otherwise be 15 minutes of cruise fuel in the span of a few minutes. But, again, big picture! We don’t want to get too specific on time, fuel, and distance to cruise because our exact figures are dependent on weather, and it’s still too early in the planning process for that.
Ok, our pre-weather planning is now complete. We’ve built a solid cross country plan that can be employed on any given day. You might consider filing it away if this is a cross country plan you’ll use again in the future.
To proceed past this point, we need weather information — specifically winds and temperatures aloft. The earliest winds and temperature data will become available is 24 hours before a flight. The closer the forecast is to your planned time of departure, the more accurate it’s likely to be.
Begin by populating the winds and temperatures column on your navlog. Forecasts are usually for 3,000-foot increments. Temperatures are omitted below 2500’ AGL and no data is available below 1,500 AGL. If you are flying at 4,500 feet, you’ll need to interpolate between the forecasts at 3,000 and 6,000 feet. If winds at 3,000 are 090 at 15 knots and 110 at 25 knots at 6,000, we can approximate the winds at 4,500 to be near 100 at 20 knots.
With our wind and temperature data populated we can now use our E-6B to calculate true heading (subtract left, add right), magnetic heading, and ground speed. With that information populated, we can calculate the time for each leg, including the first leg from takeoff to top of climb. Fuel burn on each leg follows. Check your fuel calculations against the approximate calculation you made in the pre-weather phase of planning. They should be somewhat close.
Don’t forget the reserve fuel! The legal minimums for VFR flight are 30 minutes during the day and 45 minutes at night, but again an appropriate reserve calculation requires other variables: if you are flying to a remote airport in the mountains which is a 25-minute flight from the next nearest airport and has no weather reporting, it’s a near necessity to maintain a higher fuel reserve.
That’s the basics of the flight planning process! Remember to not get lost in the details. Successful flight planning and cross country flying require both the “big-picture” and the details. You may get by with just the big-picture in many cases, but you can’t get by with just the details, especially if you fail to recognize the dynamic environment you’re operating in. It’s safest, and ultimately more fun and rewarding when you have both!

Once the planning is done, it’s time to head out!
And, as we’ve said in previous articles, much of the flight training process is about getting your reps in! Don’t expect to get this perfect the first time. Do it again and again and it will come together.